This is the first year we are celebrating Fall & Halloween with a babe…and we are sooo excited! Hendrix has been a dream come true for us and we want to do all the fun & creative things we can with her.
This year our home is still under construction as we renovate and build on an addition for my mom who lives with us, but that wasn’t going to stop us from crafting and decorating to make the house feel warm and spooktacular!


We couldn’t help ourselves when we hit up the first (yes, first of 3 so far) pumpkin patches. We stocked up on all the mini pumpkins we could! Oh, and I may or may not have taken 800 pictures of baby girl in the pumpkin patch, every which way, and every single angle! 🙂 I received so many compliments on my Pinkblush dress white at the pumpkin patch and after posting on Instagram that I had to share!


This Taupe Mock Neck Flounce Sweater Dress literally was the perfect option to our Florida Fall weather. It was slightly cool this day so the sweater dress material was so soft and cozy! I love a versatile dress and this is it!! Who says you can’t be fancy at a pumpkin patch? I mean, after all, we were playing “Cinderella” in the pumpkin carriage! That is every girl’s dream, right? 🙂

Just look at the flounce detail on the sleeves! It adds just the perfect amount of femininity. I am also trying to keep up with the cuteness of Hendrix’s sweet lace onesie! I need to meet her stylist! Pinkblush is my go to stop for clothes, accessories and baby clothes! Oh, yeah, did I tell you they have the best baby items too?!


From fancy at the pumpkin patch to casual and crafty at home…I knew this year I wanted to paint some of the pumpkins black and white and decorate them with various textures and patterns. We purchased all the spray paint and decorative paint markers from Michael’s Craft Store.

Find a well ventilated area outside and place your pumpkins on a piece of cardboard or a good amount of news paper. Wearing gloves will certainly help keep things cleaner! Spray the pumpkins thoroughly and allow them to dry. I used white primer paint because I love the flat matte look. I got matte black also! The craft paint makers work nicely and a simple black sharpie is great too!
Don’t stress about what to put on the pumpkins! Anything goes! Get creative or use Pinterest for ideas!!! It’s okay, that’s why it’s there! 🙂


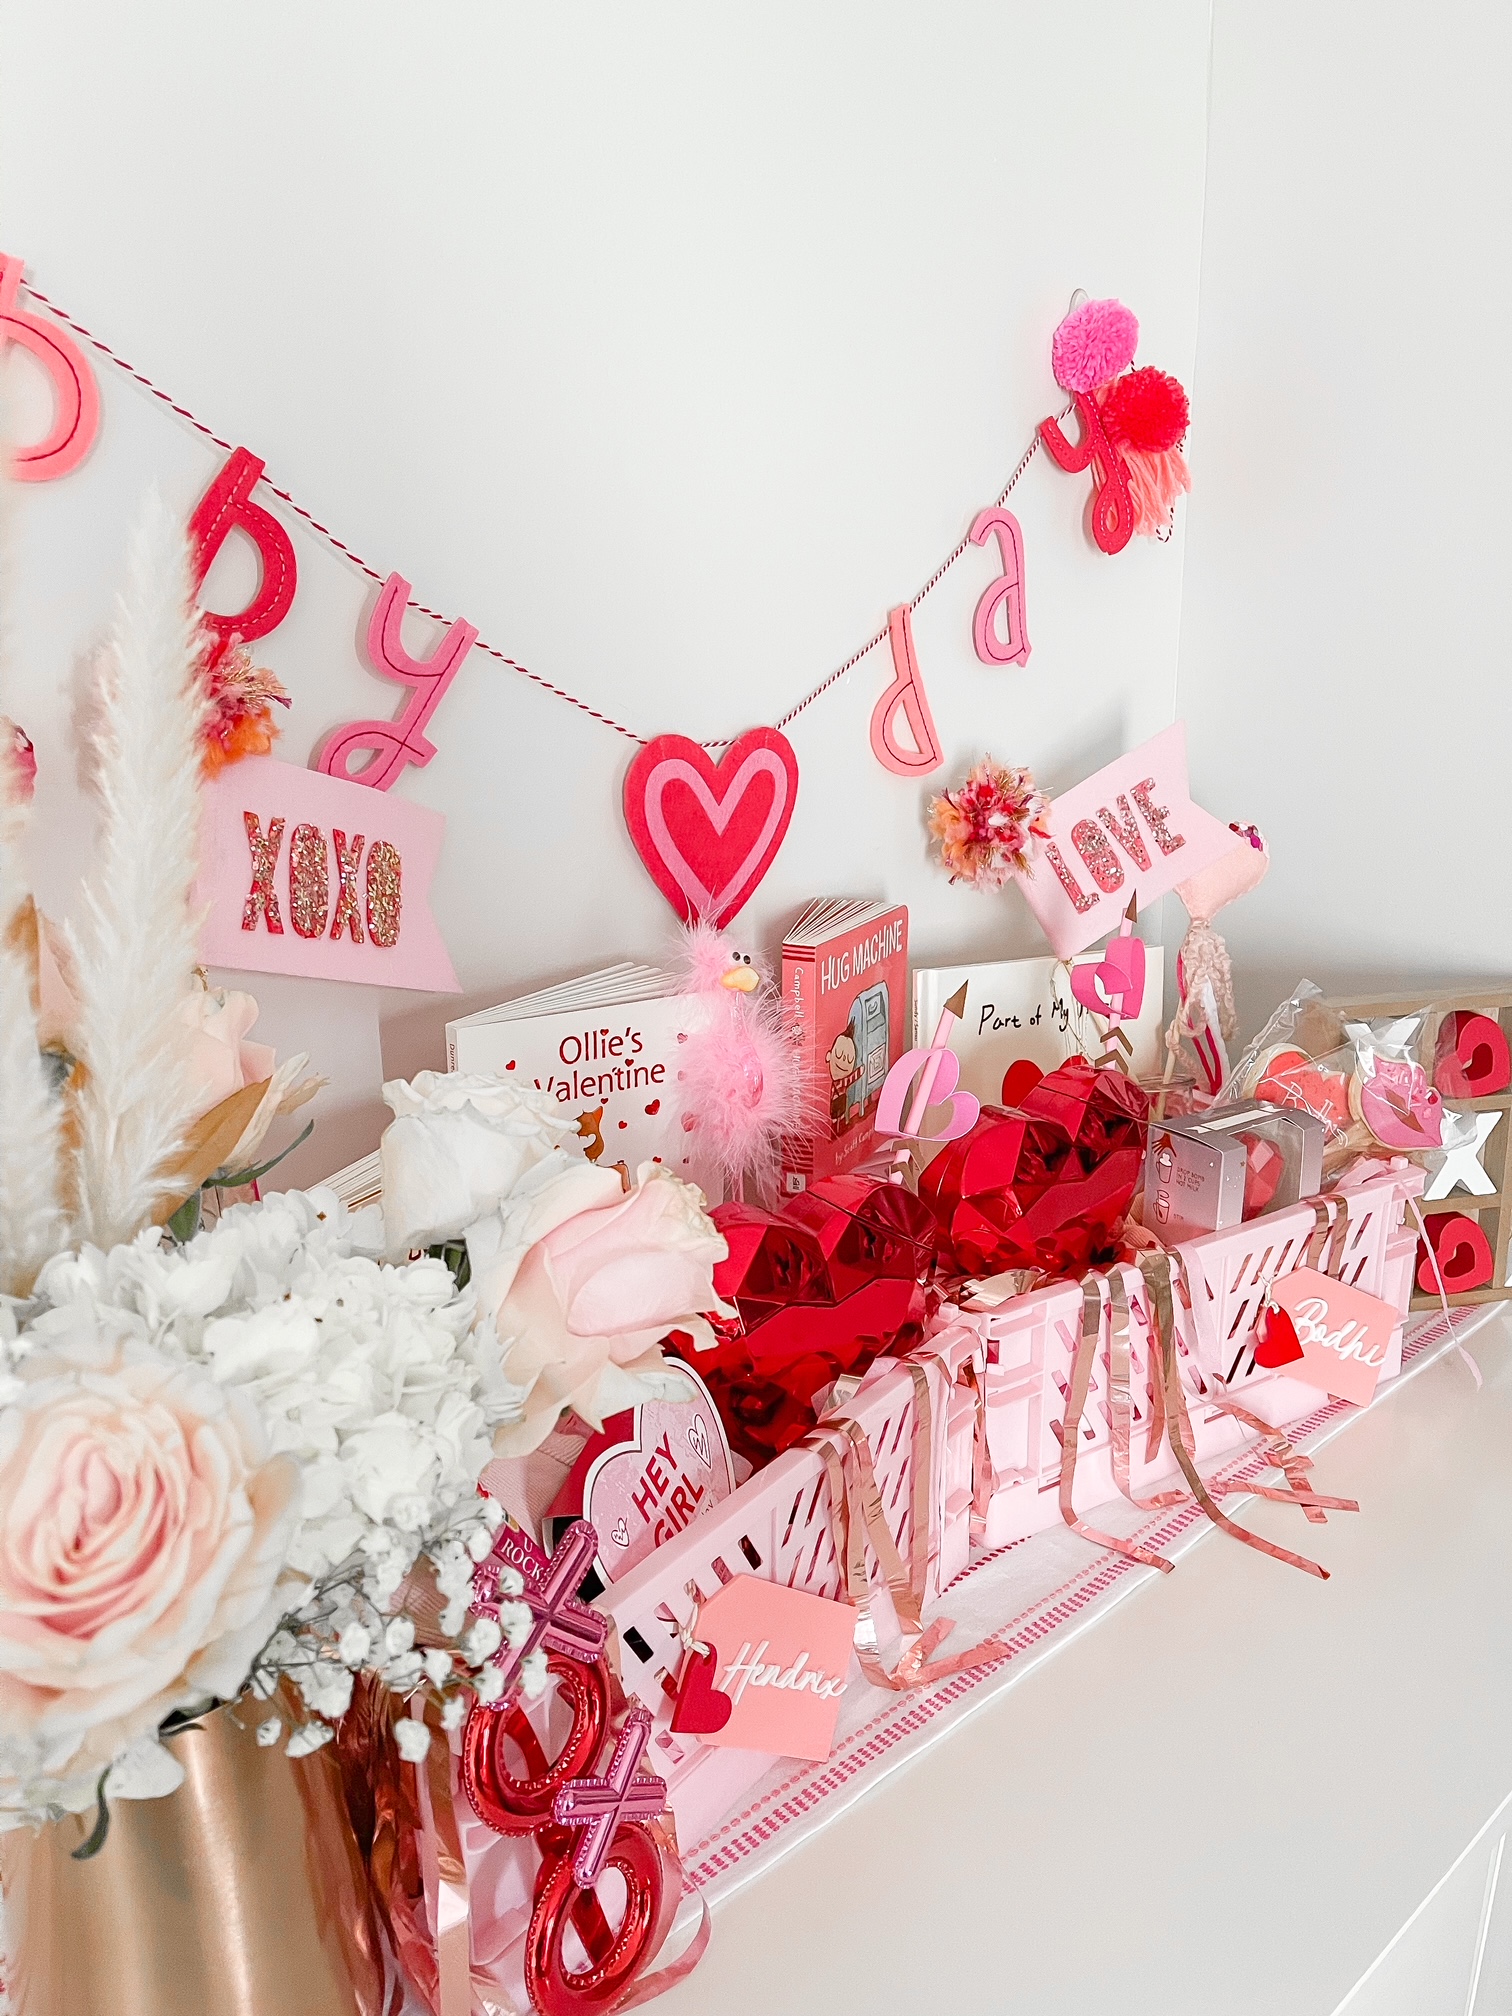
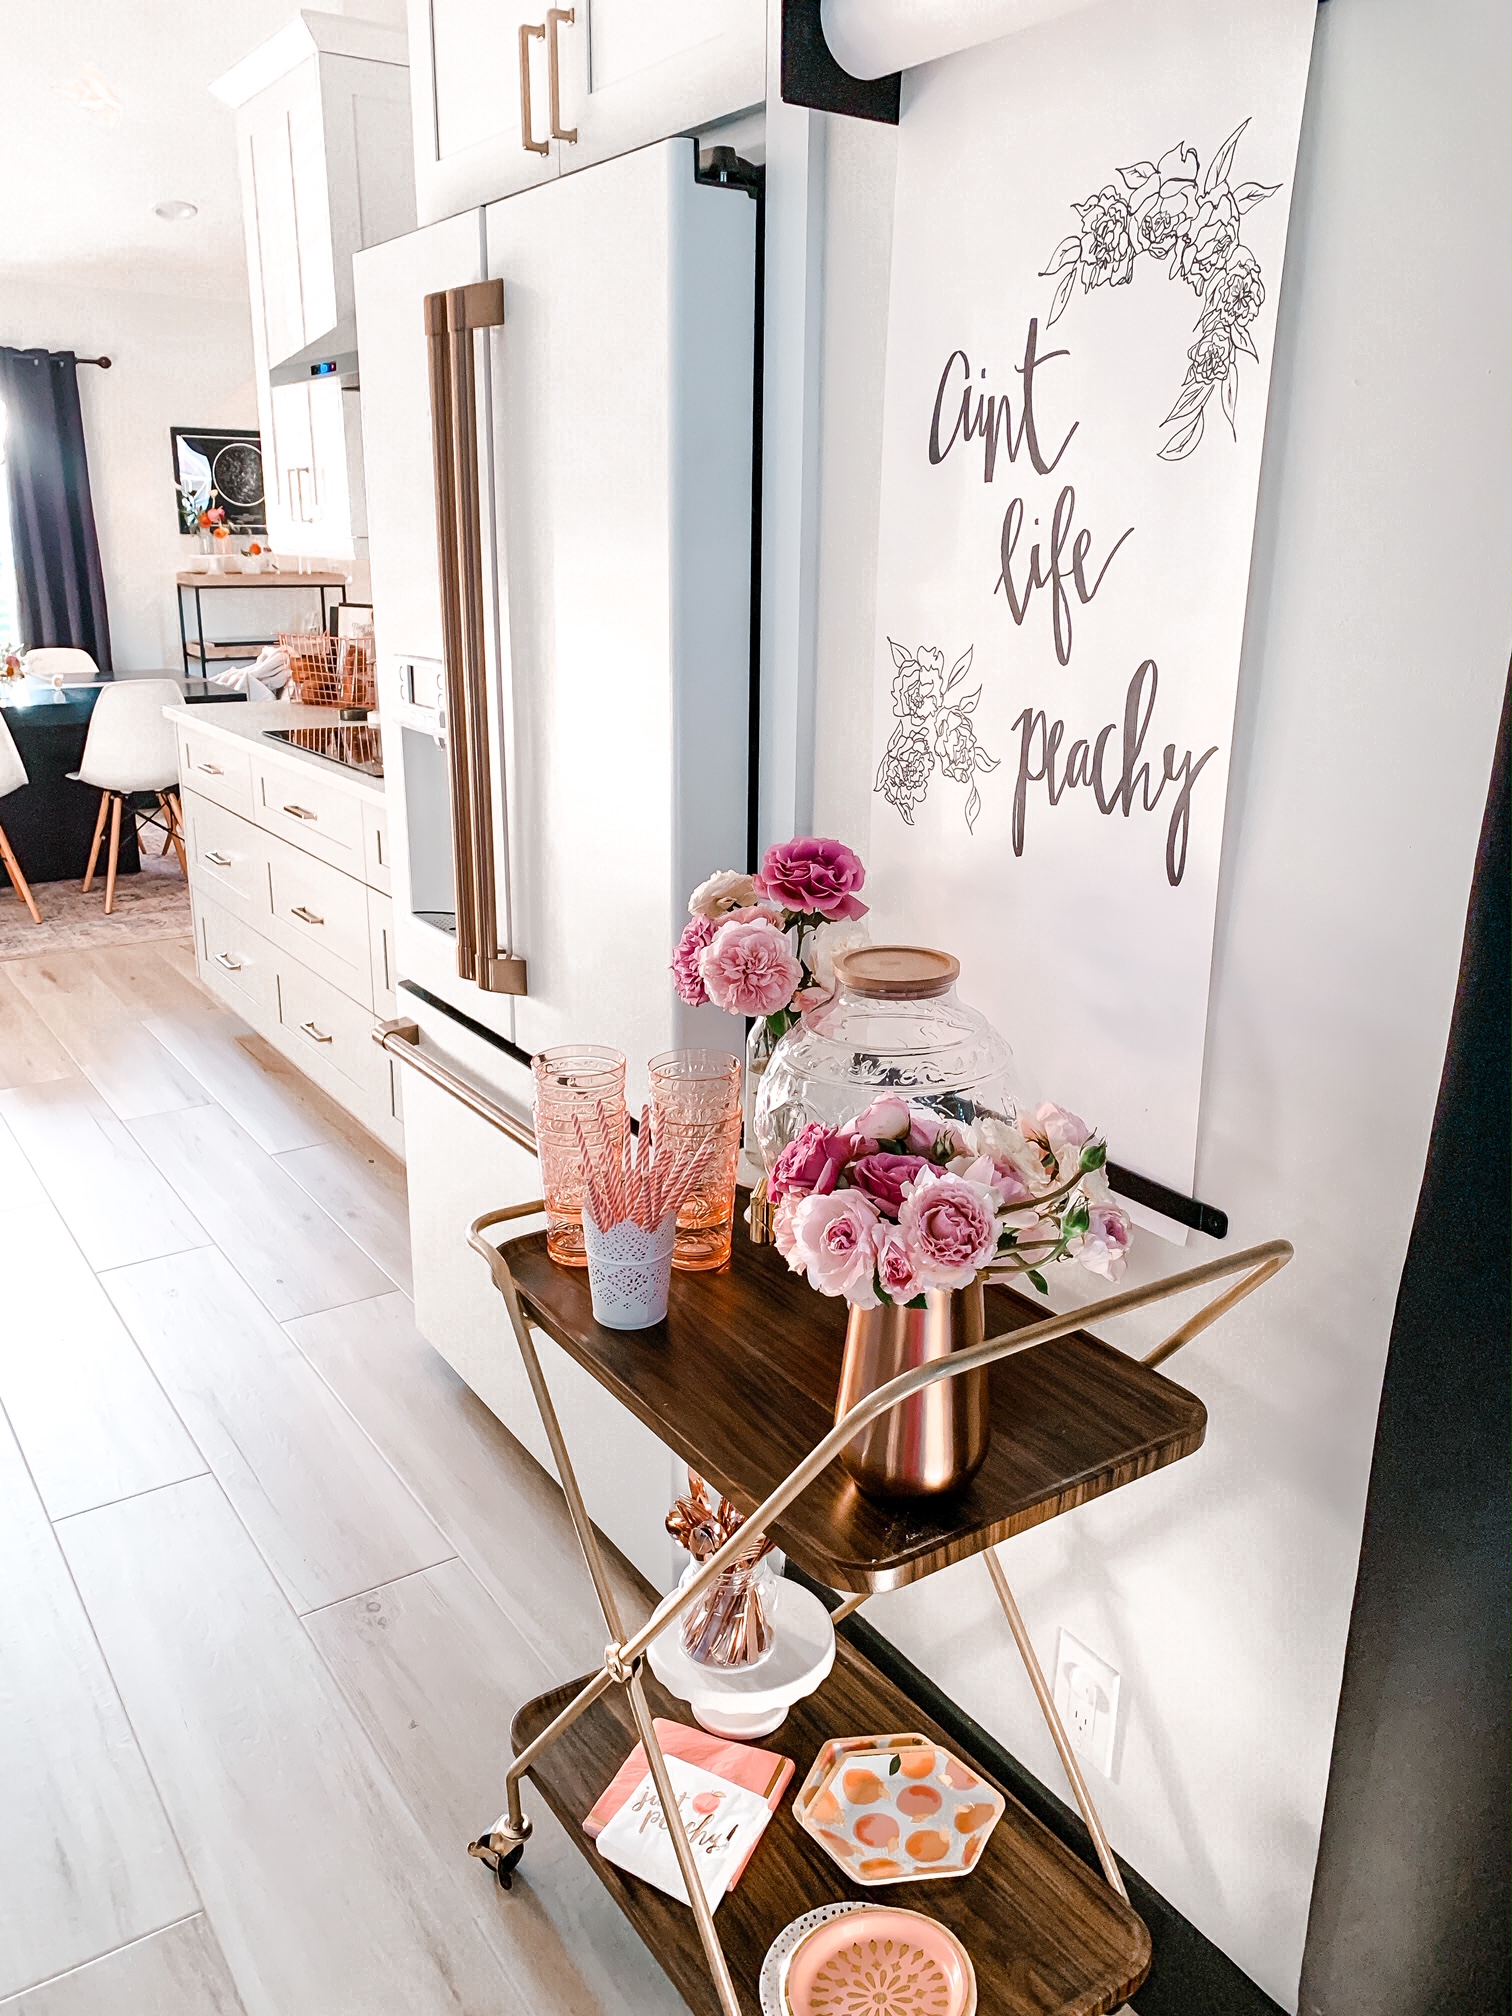
You can literally dress up your entire home with a bag of pumpkins or gourds! They add so much texture, color and fun! Here is an example of how I added them to my kitchen floating shelves! You will see them here – solid colored sprayed pumpkins add a little punch along side the glass pumpkins!

The other fun and easy DIY Halloween project we did were boo ghost jars! All of the materials were purchased at Michael’s Craft Store also. The candy was purchased at our local grocery store. We purchased these little plastic jars with lids for $1 each at the craft store. The halloween washi tape was 3 for $1 and the white twine was $4 for a roll.


I used the washi tape to decorate the outside of the jars in different patterns and order. I also covered the lids with several pieces of the washi tape and used an exacto knife to trim around the circle of the lid. Throw away the excess after you make the cut all the way around. Use black sharpie to outline the trimmed edge if it’s a little crooked. you can write a Halloween inspired word on top. You can see “boo” here. Use a screen driver to poke a small hole in the lid so that the “ghost” made from a tootsie pop wrapped in 1 half sheet of paper towel can slide in the hole you make in the lid.


Fill the jar with whatever type of candy you would like. The candy helps the top heavy ghost stand up! Use the twine to tie off the paper towel for the ghost. This is a super easy and fun craft that you can have the kiddos help with. They would be great little gifts to give family, friends and teachers!!

Leave a Reply